Updated 12/24/05
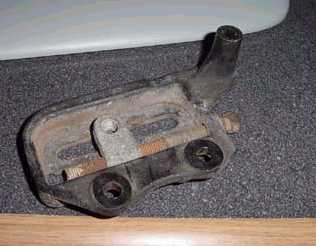
Below is the A/C tensioner.
The long leg has to be cut down.
A special thanks to Jeff Van Ordsdale "Gatecrasher" for sending me this picture a long time ago.
Warning! I cut mine down TOO FAR far, it worked but my alternater belt always squealed and after 1 year
the alternator belt started shreading. I bought the correct 4-bolt main bracket and discovered I had cut
mine 2 mm too short.
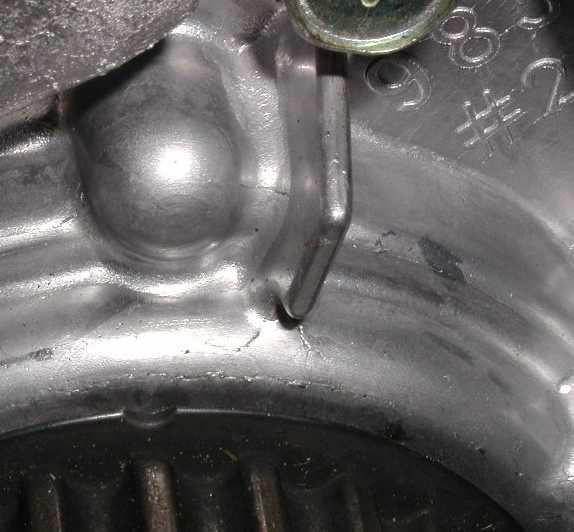
Below is a picture of the crank shaft drive sprocket at final installation.
When the #1 cylinder is at TDC it is exactly 1 tooth off as shown.
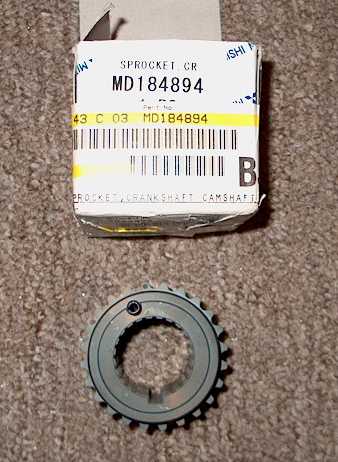
To the right is a picture of the 4-bolt main sprocket that I DID NOT use.
Notice the back of the sprocket does not have a lip on it. You have to buy the
backing plate too, so I did not use it.
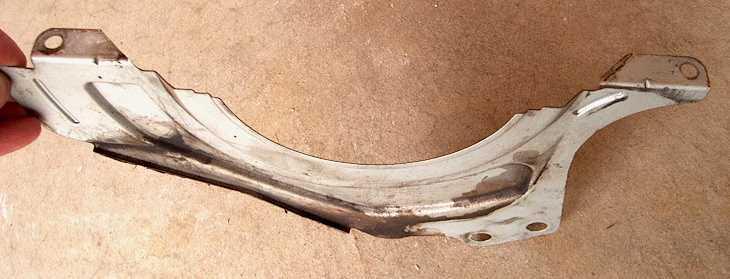
The lower flywheel cover had to be notched slightly on the edges.
The picture below shows the part notched but not cut completely.
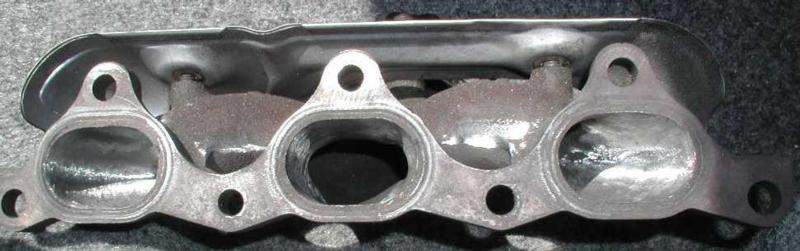
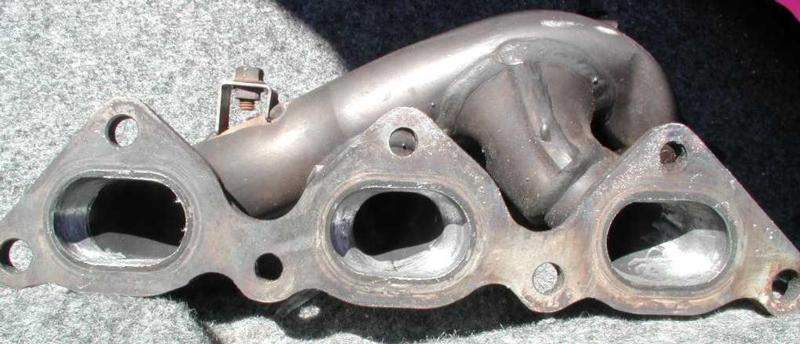
I did some mild porting of exhaust manifolds to free up a little exhaust flow.
It also had press the head guide bushings into a new block.
The new 4-bolt block came with a plastic bag with 4 bushings in it.
I had no idea what they were until I went to install the heads and noticed that they were free to slide around a little.
I realized that the new block needed bushings installed.
The way I did it was to use a head bolt with a LOT of spacers then carefully tighteninged the headbolt
until the bushing was seated in the block
Back to 4-bolt main Swap page
Home